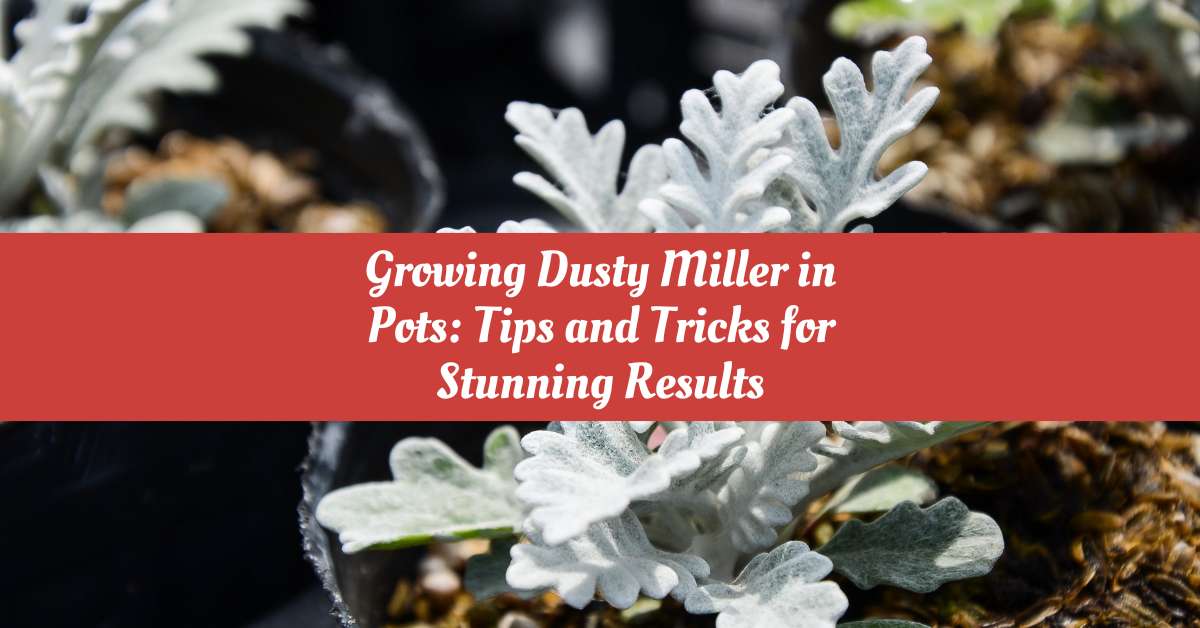
Dusty Miller, also known as Silver Ragwort or Silver Dust, is a popular plant known for its striking silvery-gray foliage. This ornamental plant is native to the Mediterranean region and is widely grown to add texture and interest to garden beds and borders.
Despite being a popular groundcover, growing dusty miller in pots or containers is also beneficial.
While it’s true that dusty miller is an easy plant to grow in pots, simply dropping it in and neglecting it won’t lead to a healthy and thriving plant. So, what steps can you take to ensure your dusty miller plants grow well once planted?
In this article, you will find basic, actionable and easy steps to grow dusty miller in pots.
Step 1: Choosing the Right Pot and Soil
The first and foremost thing before growing any plant is to choose the appropriate soil for your plant. Dusty Miller plants need well-draining soil to thrive. Select a soil mix that allows excess water to drain out of the pot easily. This will help prevent root rot and other moisture-related problems.
While Dusty Miller is a relatively low-maintenance plant, it still requires some nutrients to grow properly. Look for a soil mix with a balanced nutrient blend, including nitrogen, phosphorus, and potassium.
Lastly, you can add organic matter, such as compost or peat moss, to the soil mix, which can help improve soil fertility, texture, and drainage.
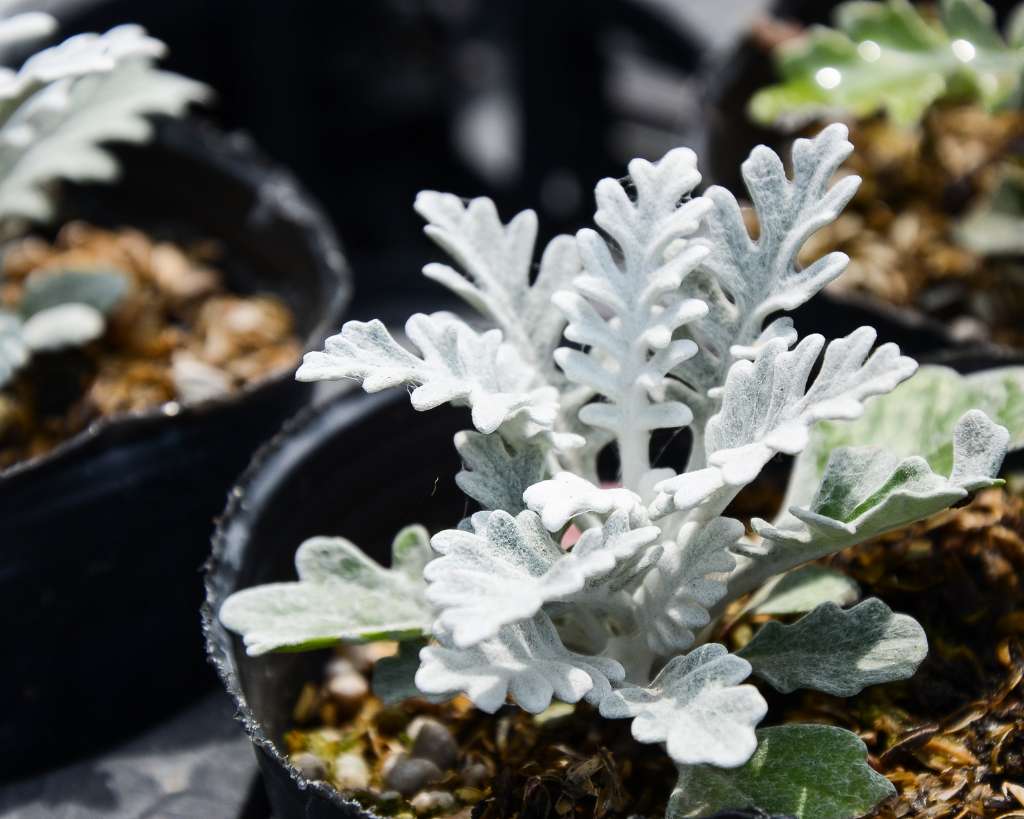
Let’s discuss choosing the right containers for your dusty miller plant. The first important criterion is to select a large pot to accommodate the plant’s size. A pot at least 10-12 inches in diameter and 8-10 inches deep is recommended.
Dusty miller plants would wear off sitting in soggy soil. Therefore, it is essential to choose pots with drainage holes in the bottom to allow excess water to escape.
You can use various types of pots, including plastic(maintain proper drainage because they get waterlogged quickly), ceramic, clay, and even recycled containers such as tin cans or old buckets. However, it is crucial to consider the material of the pot as it can affect the soil temperature and moisture retention.
Step 2: Selecting the Right Dusty Miller Variety
There are some fantastic dusty miller varieties that you can choose to grow in containers. All the types have the trademark silver-gray color. The foliage of certain varieties differs in structure from each other. Here are some of the common varieties which you can choose from:
Silver Dust

This variety’s foliage is more delicate than other dusty miller varieties. Moreover, the silver colored foliage is more intense than some other varieties.
Silver Lace

The leaves of Silver Lace are finely divided, almost feathery, and have a lacy appearance. It is the most stylish out of all the varieties. This variety can also withstand cooler climates as well.
Cirrus
This variety has broad, fuzzy and deeply lobed leaves that look eye-catching when planted near blue, purple and white colored blooms.
New Look
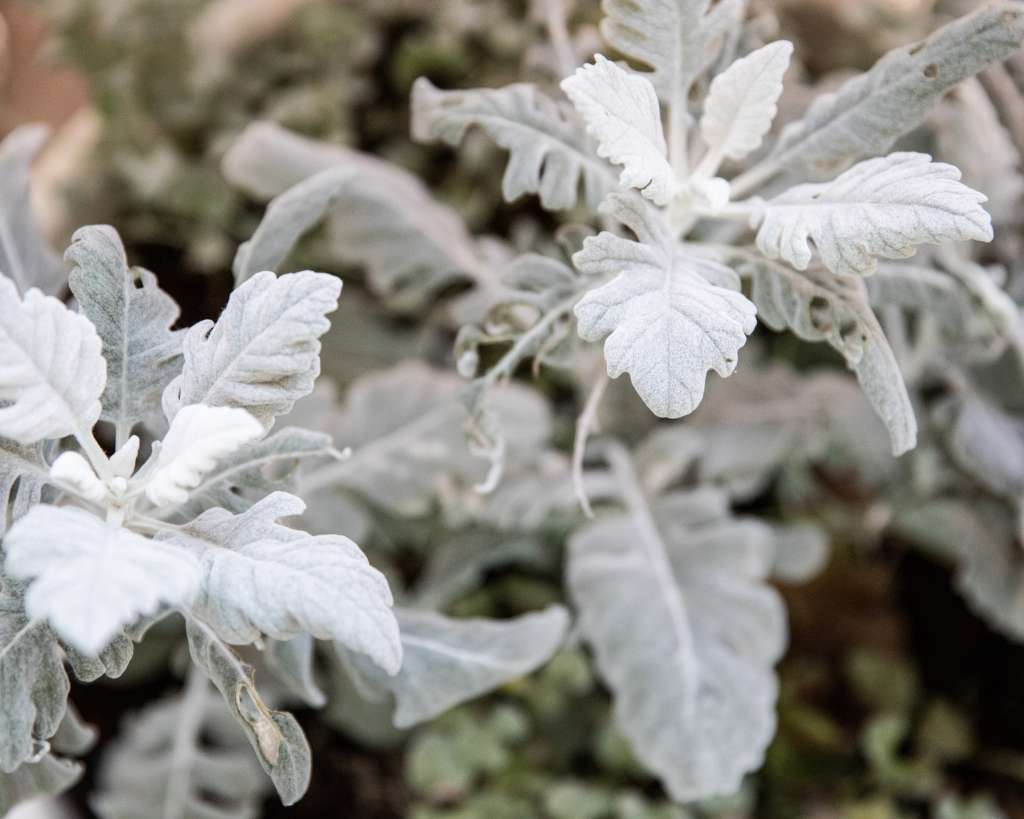
The leaves of the new look are big compared to other varieties. The fuzzy leaves resemble another ornamental buddy, ‘lamb’s ear’.
Step 3: Planting Dusty Miller in Pots
Dusty Miller prefers cooler climates to grow. Planting Dusty Miller seeds can be more challenging if you live in hotter climates. In this case, planting the seeds in late summer or early fall is best when the temperature is more relaxed.
If you live in cooler climates, the best time to plant Dusty Miller seeds is in early spring, about 6-8 weeks before your area’s last expected frost date. This will give the roots enough time to germinate and establish before the warmer summer months arrive.
Let’s discuss the steps needed to grow dusty miller from seeds.
1) Fill a seed tray or small pots with well-draining potting soil. Dusty Miller seeds require good drainage and aeration to grow successfully.
2) Moisten the soil, but do not soak it. Allow the soil to absorb the water for a few hours before sowing the seeds.
3) Scatter the seeds over the surface of the soil. Dusty Miller seeds are very tiny, so it’s best to mix them with some sand to make it easier to sow them.
4) Press the seeds lightly into the soil, but don’t cover them with soil as they require light to germinate.
5) Cover the seed tray or pots with a clear plastic cover or plastic wrap to create a greenhouse effect. This will help to retain moisture and warmth.
6) Place the seed tray or pots in a bright, warm spot from direct sunlight. The ideal temperature for germination is around 70°F (21°C).
7) Check the soil regularly to ensure it stays moist but not soggy. Mist the soil with a spray bottle if it becomes dry.
8) After 7-14 days, the seeds should begin to germinate. Remove the plastic cover and move the seedlings to a brighter spot with some direct sunlight.
9) When the seedlings have grown 2-3 true leaves, transplant them into larger pots. Use high-quality potting soil and plant the seedlings at the same depth as in the seed tray.
10) Water the seedlings well and continue caring for them as you mature Dusty Miller plants.
Step 4: Watering and Fertilizing Dusty Miller
Dusty Miller plants require regular watering, but overwatering can lead to root rot and other problems.
The watering frequency will depend on various factors, such as the size of the pot, the soil type, and the weather conditions. Check the soil moisture level by sticking your finger about an inch into the soil. If it feels dry, it’s time to water.
Dusty Miller doesn’t require a lot of fertilizer, but it can benefit from occasional feeding to promote healthy growth and foliage. A balanced fertilizer with an N-P-K ratio of 10-10-10 or 20-20-20 is ideal.
When applying fertilizer to Dusty Miller plants in pots, doing just what is necessary is essential. You can use the fertilizer once every 2-4 weeks during the growing season, typically from spring to fall. Water the plant before and after fertilizing to help the nutrients penetrate the soil.
However, if you are growing it in proper nutrient-rich soil coupled with organic matter, then it will not require any fertilizer to thrive.
Step 5: Managing Pests and Diseases
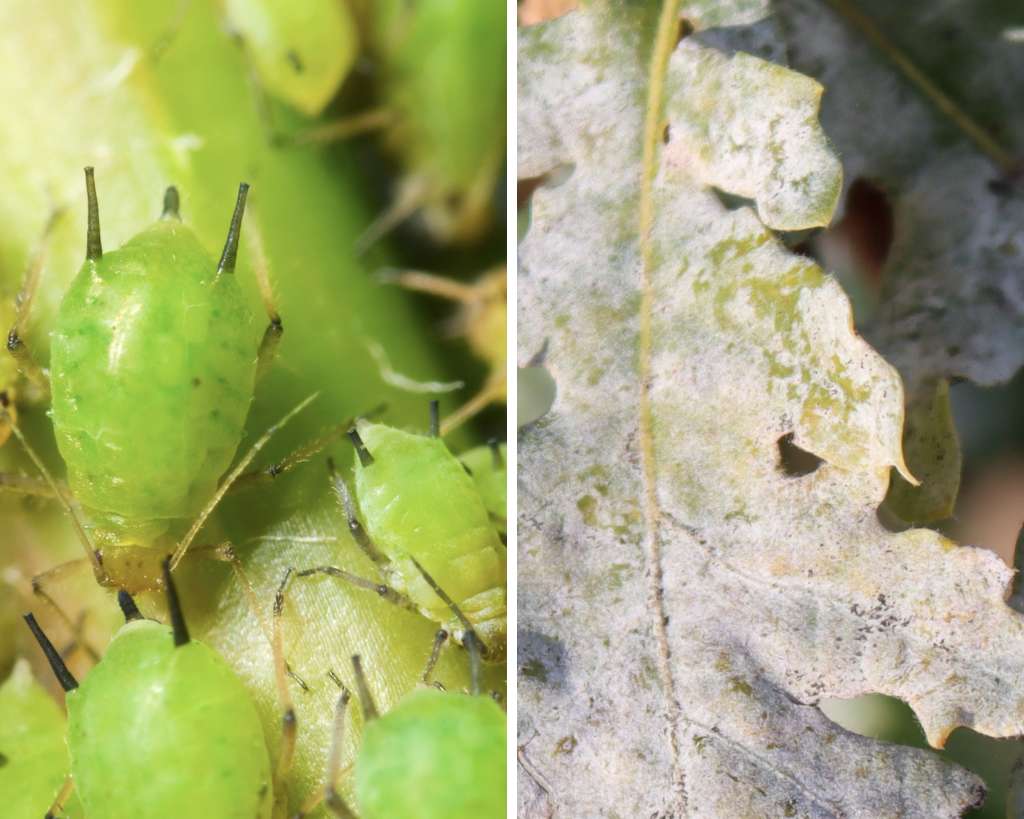
Dusty miller is generally a hardy plant which remains unfazed mainly by pests and diseases. However, it can get attacked by certain pests like aphids primarily due to the negligence of novice gardeners.
Caring for dusty miller plants is easy, yet it is essential to look after specific aspects such as appropriate soil for the plant, getting proper sunlight, and watering is done in the right amount.
Aphids are the most common pests that affect dusty miller. You can introduce natural predators such as ladybugs or lacewings to help control aphids and other pests. There are other options, such as using an insecticidal soap or neem oil to eliminate them.
Apart from pests, powdery mildew is a disease commonly present in dusty miller. It is better to look after certain things, such as sunlight and water. Keeping the plants under shady conditions for a long time and overwatering can make them vulnerable to powdery mildew.
To get rid of this disease, Apply a mixture of water and baking soda to the leaves to control powdery mildew.
Step 6: Pruning and Pinching Dusty Miller
To keep your plant healthy and attractive, it is important to implement pruning and pinching techniques. First, we will discuss the methods required to prune dusty miller:
- Use sharp, clean pruning shears to make clean cuts.
- Cut back the plant by about one-third to one-half of its height, making the cuts just above a leaf node or bud.
- Prune in the spring before the plant begins its active growth phase.
- Remove any dead or yellowing leaves or stems as you notice them.
Implementing pinching regularly throughout the growing season is also important, especially when the plant starts to become tall and leggy. We have listed out some easy tips to pinch the dusty miller plant:
- Use your fingers to pinch off the tips of the stems, just above a set of leaves. This will encourage branching and bushier growth.
- Pinch back the stems regularly throughout the growing season, especially when the plant starts to become tall and leggy.
- Avoid pinching too much at one time, as this can stress the plant and stunt its growth.
Step 7: Overwintering Dusty Miller in Pots
Dusty miller needs extra care when grown in regions where the mercury drops significantly. It is recommended to bring the plant indoors to protect the roots from the freezing temperature outside.
These are some steps that you can take to ensure successful overwintering of dusty miller:
- Check on your plants periodically throughout the winter and water as needed to prevent the soil from completely drying out.
- In the spring, gradually increase watering and fertilization to encourage new growth.
You can also follow these instructions if you are unaware of protecting dusty miller from frost and cold damage:
- Move your pots to a sheltered location like a covered porch or garage.
- Cover the plant with a frost blanket or burlap to protect it from freezing temperatures and harsh winds.
- Place a layer of mulch around the base of the plant to help insulate the roots from the cold.
Step 8: Repotting Dusty Miller
Repotting Dusty Miller is an essential aspect of its care, as it helps to refresh the soil, provide fresh nutrients, and prevent rootbound plants. Here are some tips on when and how to repot your Dusty miller:
- Signs that Dusty Miller needs repotting:
- Roots are growing out of the drainage holes in the bottom of the pot.
- The plant is becoming rootbound and outgrowing its current pot.
- The soil is compacted, preventing water from draining correctly.
- The plant is wilting or showing signs of nutrient deficiency.
2. How to repot Dusty Miller:
- Choose a pot that is slightly larger than the current one and has drainage holes.
- Fill the bottom of the new pot with fresh, well-draining potting soil.
- Remove the Dusty miller from its current pot, carefully not damaging the roots.
- Place the plant in the new pot and fill the remaining space with fresh potting soil, gently tamping down the soil around the plant.
- Water the plant thoroughly and allow it to drain.
3. Tips for successful repotting:
- Repot Dusty Miller in the spring before its active growth period.
- Use fresh, high-quality potting soil that is well-draining and nutrient-rich.
- Be careful not to damage the roots when removing the plant from its current pot.
- Water the plant thoroughly after repotting to help it settle into its new home.
- Avoid fertilizing for a few weeks after repotting to allow the plant to adjust to its new surroundings.
Conclusion
So, growing dusty miller in pots will be a great addition to your garden. With minimal care and less effort, it will be a total superstar in your garden. You can play around with different plants as companions to give your garden a fabulous look.
FAQs
Can I plant other flowers with Dusty Miller in the same pot?
Yes, you can definitely plant other flowers with Dusty Miller in the same pot. Some plants that pair well with Dusty Miller in container gardens include petunias, verbena, marigolds, zinnias, and lobelia.
What are some best dusty miller companion plants to grow in pots?
Marigolds, geraniums, and lamb’s ear are some of the best companion plants to grow with dusty miller.